With modern day technology as it is, you no longer need a savvy, top-of-the-range camera to take incredible photos. You can now take just as insane and quality photos with your mobile phone. Isn’t that crazy?
Given that everyone (mostly) is likely to own a mobile phone, I thought I’d share some of my favourite iPhone photography tips and tricks with you…
Clean your lense
It may sound silly and so straightforward, but how many of us forget this one simple trick! We handle our iPhones daily, subconsciously taking them in and out of our pockets, purses, bags so you can imagine the lenses are likely to pick up dirt along the way. So before taking any photos at all, it’s an idea to always clean your lens first. You’ll notice crisper photos instantly.
Tap to focus
It’s always a good idea to get into the habit of tapping to focus your camera before taking a photo. When you’re in the camera app tap on your subject (be it food, a human being or Moose) and a yellow box will appear around the focus area. Usually your iPhone is smart enough to do this for you, but sometimes it just needs a helping hand.
You can also ‘lock’ the focus by simply tapping and holding your finger down for a few seconds until the AE/AF lock in a yellow box appears at the top of your screen.


Adjust the f-stop
Portrait mode is one of my favourite features on the camera and did you know you can change the f-stop both before and after shooting?
For those that don’t know, the f-stop determines how much is in focus in front of and behind the subject of your photo. In portrait mode, the f-stop can decide how much of your background is blurred or not. The smaller the f-stop, the blurrier your photo and the larger the f-stop vice versa.
To do this once you’ve taken your photo, tap edit > “f” in the top left, then slide left to right to chose your depth!


Front camera mirroring
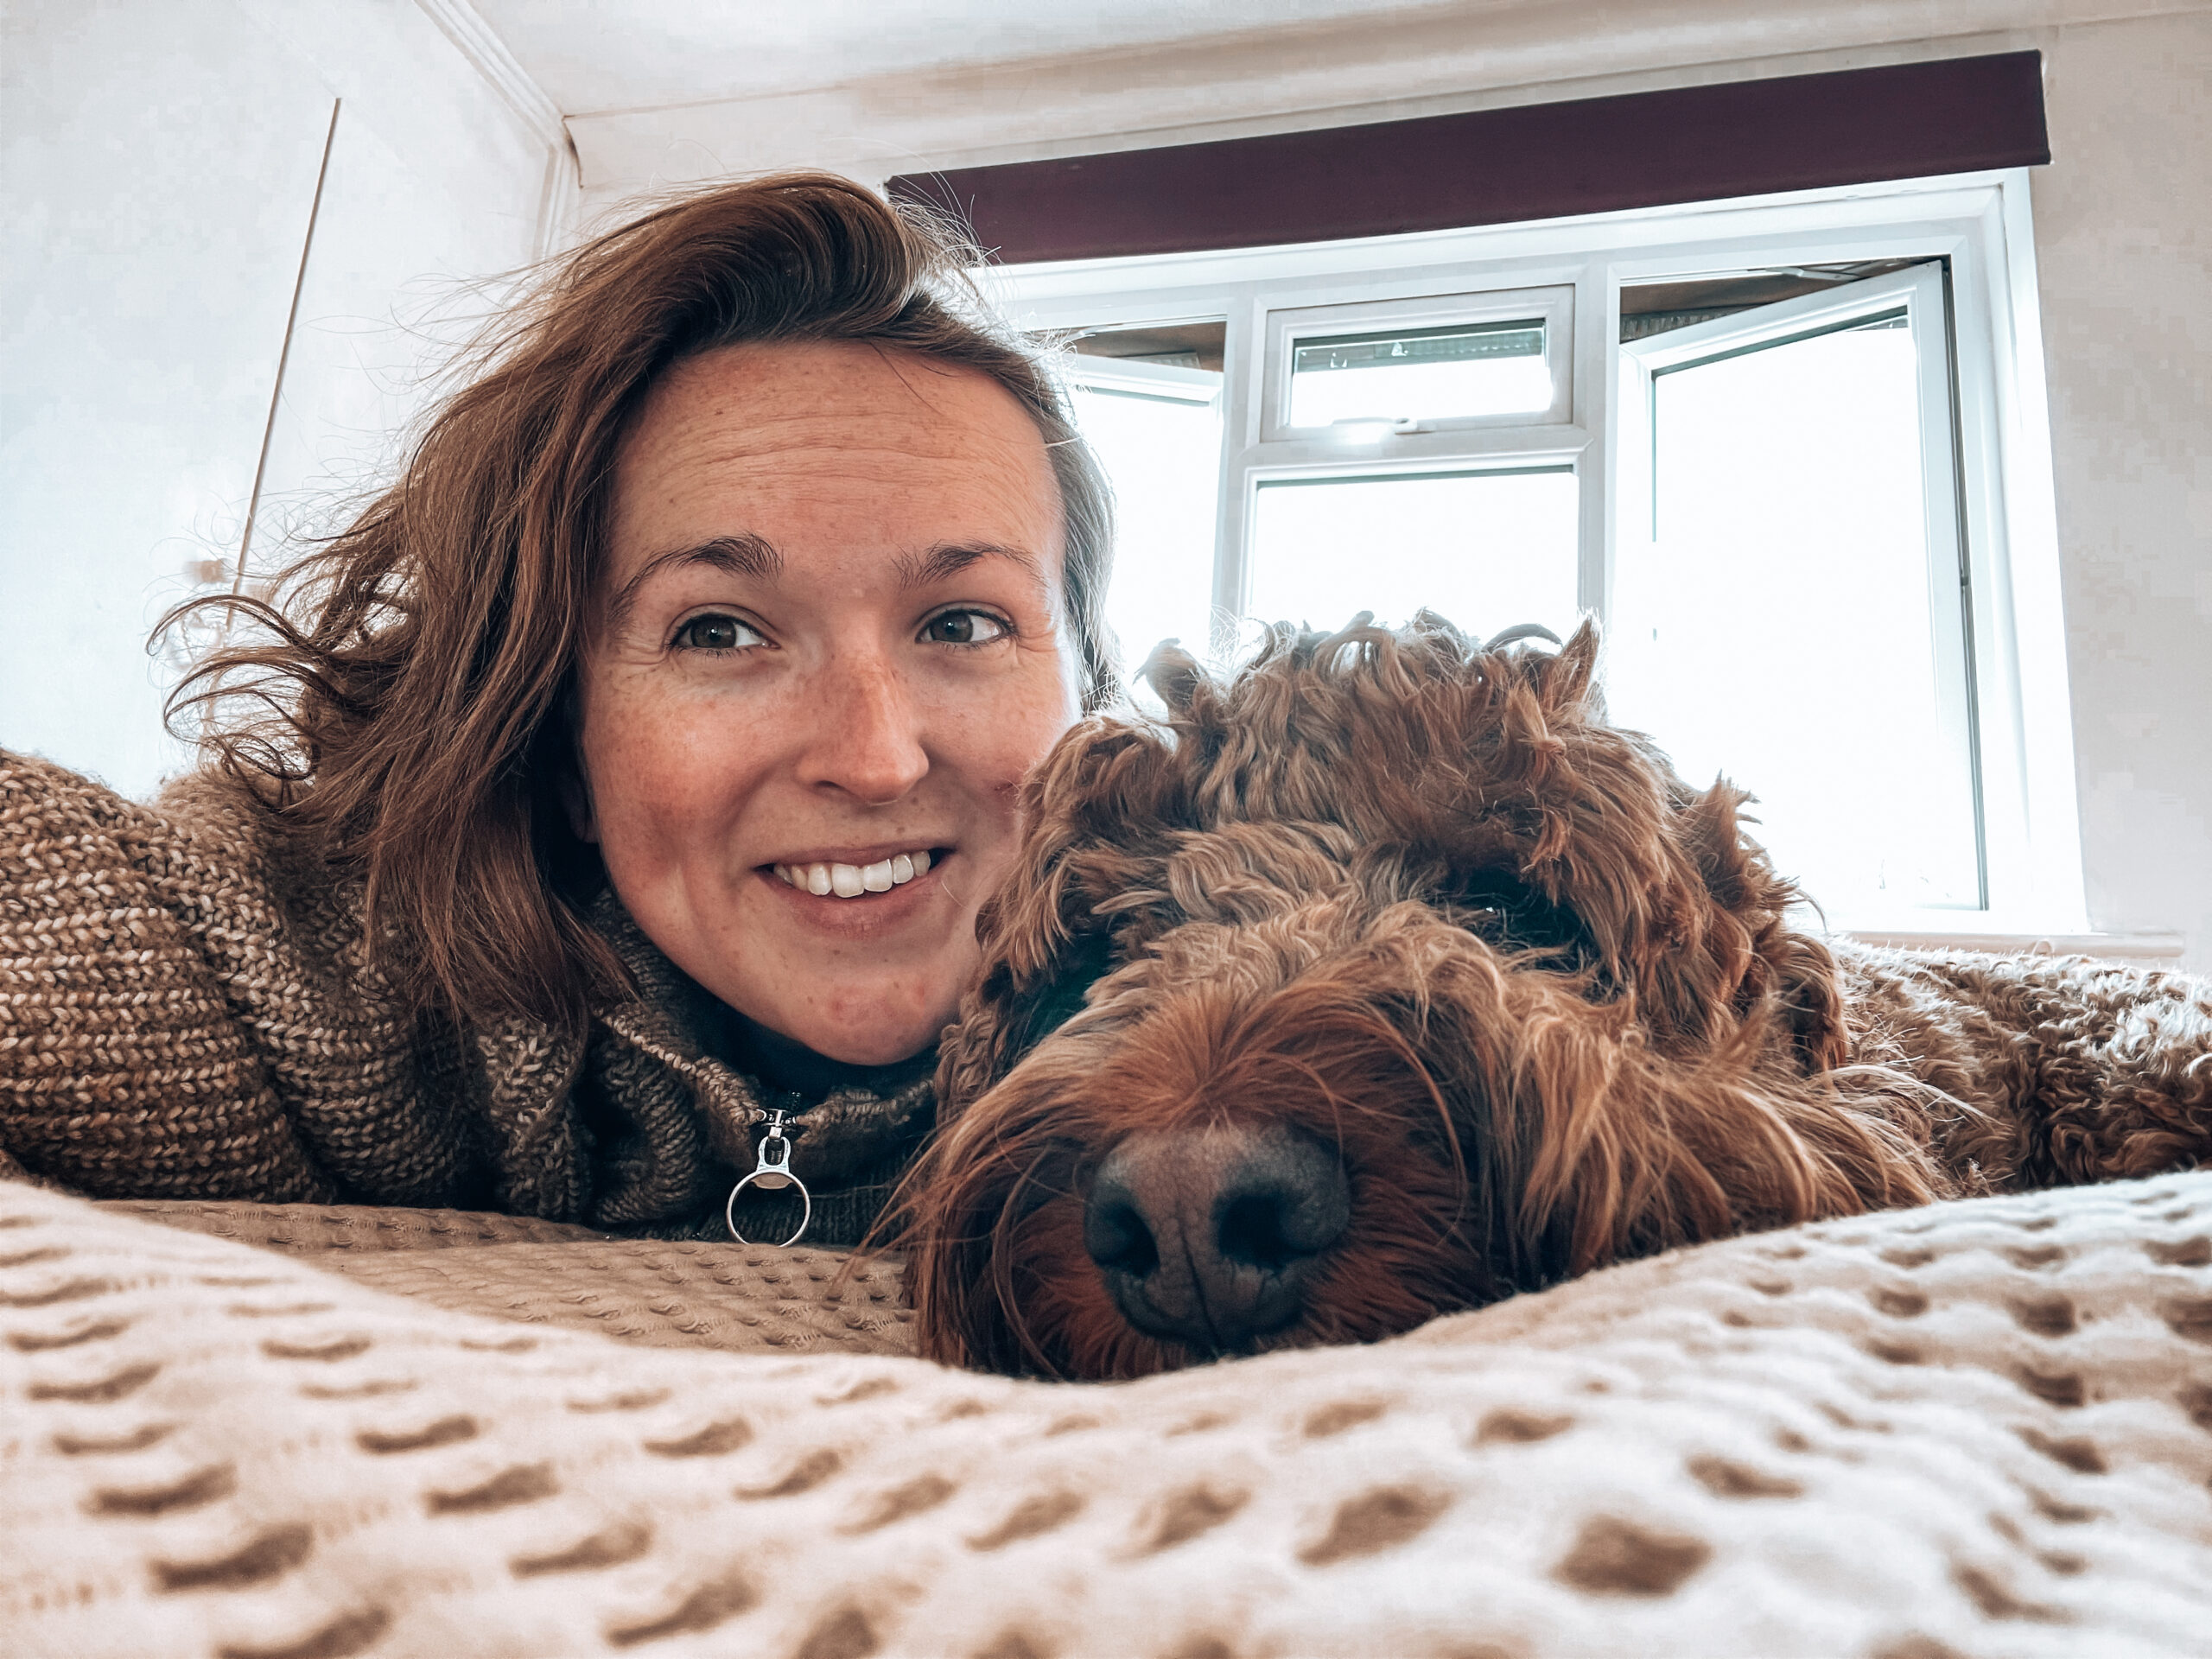
Does anyone else find it incredibly annoying the way your iPhone flips your photo in selfie mode once you’ve taken it and you see an unrecognisable photo of yourself? Well thankfully there is a way to flip your front camera to mirror the back!
Go to settings > camera > mirror front camera and toggle to green to switch on!


MIRRORING OFF ↑
MIRRORING ON ↑
Use the grid lines
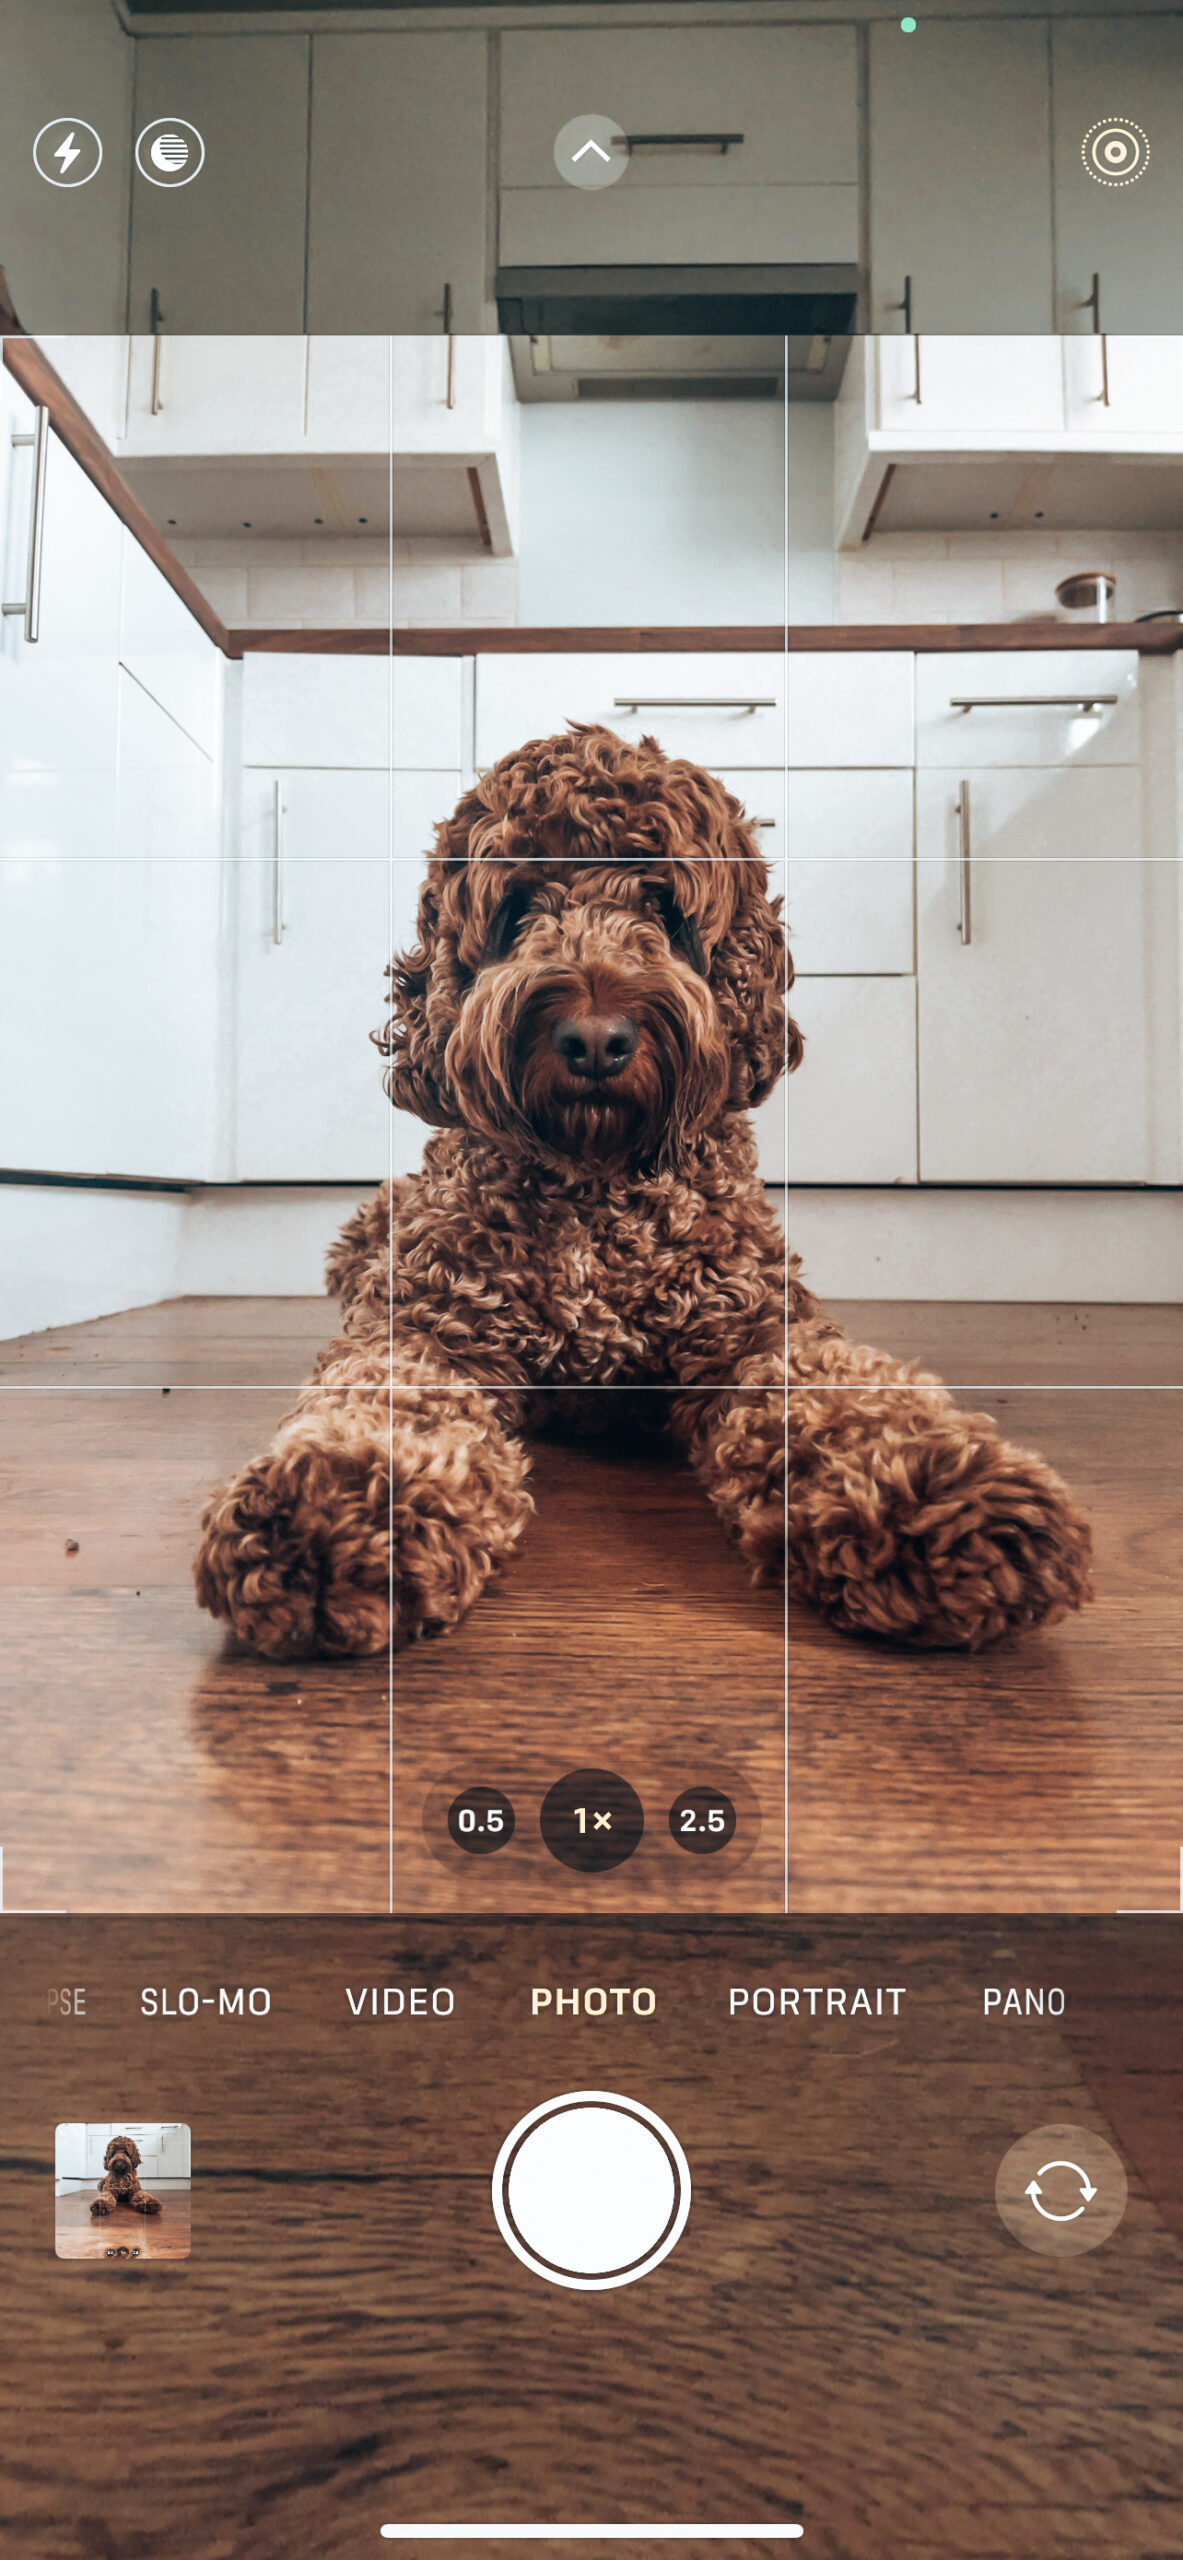
You’ll be surprised how useful grid lines can be. They are a key tool to take an incredible photo, helping centre a subject, level the horizon and allow you to always follow the rule of thirds!
Go to to settings > camera > grid and toggle to green to switch on


Disable view outside frame
You can see the “view outside frame” mode on in the above photos and I can’t be the only one that gets fooled by the feature on the latest iPhone models which, by default will show you the outside of the frame. I have been caught out many times thinking that’s part of the photo when it’s not and thankfully there’s a way to turn it off!
Go to settings > camera > view outside the frame and toggle to white to turn off
I hope you enjoyed these iPhone photography tips and please let me know if you’d like to hear more!
